Photographing Natural World Thumbnails: Difference between revisions
Jump to navigation
Jump to search
No edit summary |
No edit summary |
||
| Line 1: | Line 1: | ||
[[Category:Comics]] [[Category:Lightroom]] [[Category:Photography]] [[Category:Production]] | [[Category:The Natural World]] [[Category:Comics]] [[Category:Lightroom]] [[Category:Photography]] [[Category:Production]] | ||
== Overview == | == Overview == | ||
Latest revision as of 03:24, 26 March 2016
Overview[edit]
Steps for photographing thumbnail artwork, importing it into Lightroom, and placing into Photoshop documents.
Photography[edit]
Setup[edit]
- Shoot each thumbnailed page separately. Not each sheet on which the thumbnails are drawn.
- Lens: Tamron 90mm / 200 ISO / 1/125 sec @ f/8 / metering set to
aperture-prioritymanual
(It has to be a macro lens.) - Flash: SB-900, bounced off
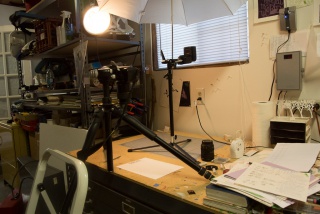
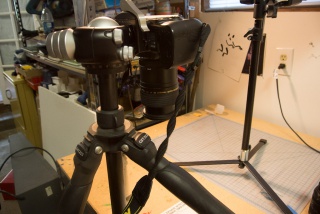
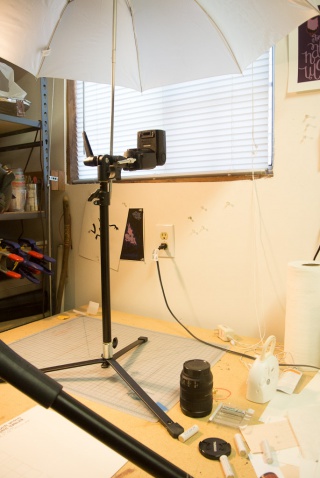
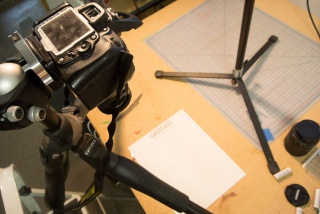
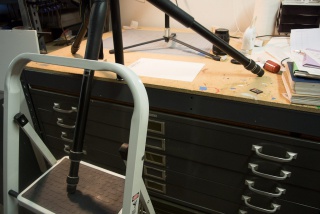
umbrellaceiling in the N Rose studio. 1/4 power. Focal length set to 50mm, although not sure if this makes a difference here. - Camera mounted on Gitzo GT2331 tripod. (see photo)
- Camera pointed straight down.
- Front legs not extended, set at middle notch. Resting on table.
- Back leg on lowest notch, extended a little bit. Resting on step ladder.
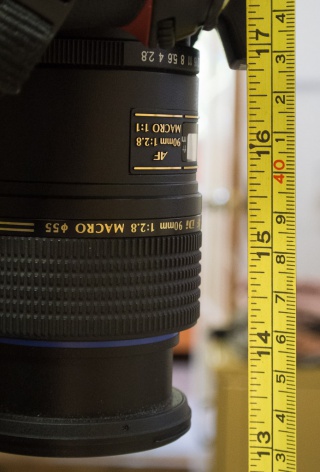
- The blue line at the end of the Tamron 90mm lens will be 14-⅛ inches from the artwork. (The blue line is only visible when the lens is set to manual focus.)
Importing the images into Adobe Lightroom[edit]
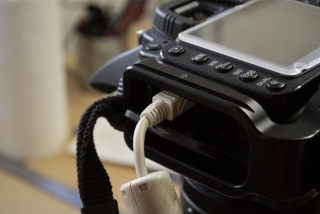
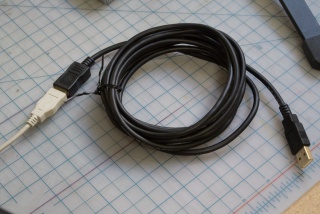
- USB cable from camera to laptop.
- Turn on camera (and flash).
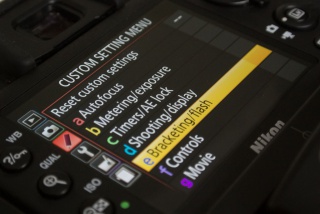
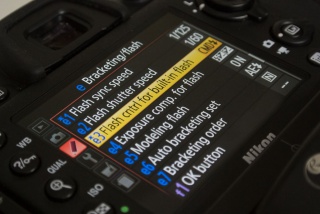
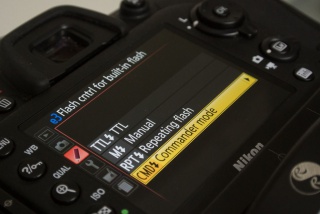
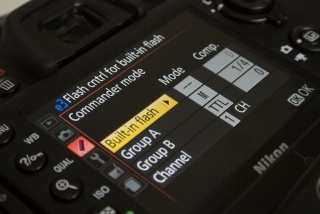
On laptop mount DAMIEN-MG drive with “lightroom_drives.bat”.With desktop in the same room as the camera, connect the camera directly to the desktop computer.- Open Adobe Lightroom on
laptopdesktop. - Open the “comics” Lightroom catalog
that resides on “//damien-mg/d_drive/Adobe Lightroom”.
(This will be located at “d:/Adobe Lightroom/comics” after running the batch file above. Again, location isn’t an issue when the camera can be connected directly to the desktop.)
- File > Tethered Capture > Start Tethered Capture…
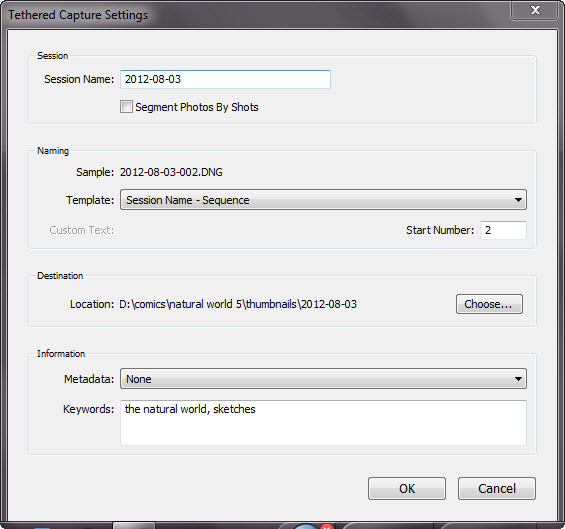
- Naming:
“nw5 s2 p03 v1”“nw5 s2 v1 p03″- title and issue | scene | version | page
- Update: Put version after scene and before page so that the pages for each version are grouped together when viewing the files alphabetically.
- This applies to both the the EXIF title and the image filename.
Photoshop[edit]
Adding panel borders and text[edit]
- It’s not necessary to erase pencil lines before photographing the thumbnails. The curves adjustments in Photoshop will remove them.
- No corrections in Lightroom.
- Create a Photoshop document with one layer containing the panel borders, and two additional blank layers for the text and shading. * Make a copy to create a file for the new page.
- Edit LR file (using Photoshop)
- Adjust LR prefs so it doesn’t append “-Edit” to the Photoshop filename.
- Adjust LR prefs to edit photo at 500 dpi. With the photos at 500 dpi, the thumbnails will come out 4.75″ wide in InDesign without any further adjustments.
- For files originating from the Nikon D7100, once the file is open in Photoshop, change the DPI to 684, without resampling so the actual raster data is unchanged.
- With images captured with a Nikon D7100 resampling at 684 dpi yields an image that will be 4.75″ wide when imported into InDesign.
- Lightroom preference for setting the dpi of an image in the image editor tops out at 600 for some stupid reason. This adjustment must be made in Photoshop.
- Artwork should have at least 3/8″ margins in InDesign, but the top and bottom margins are slightly larger.
- Apply threshold to line art with Threshold Level at ~210.
- Copy this layer into the thumbnail page document and set the new layer’s blend mode to “multiply”.
- Close the NEF file without saving.
InDesign (CS5.5 CSS) booklet[edit]
Document setup[edit]
TK: specifications for page headers and footers.
Printing a booklet for review[edit]
InDesign remembers the last print configuration for the document. Once a book has been printed out, the only adjustment in the print dialogs that should be necessary would be to change the page range being printed out.
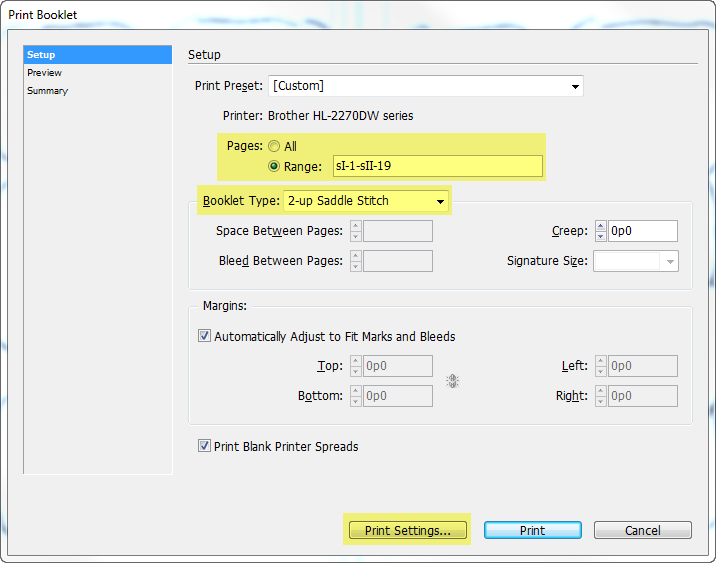
- File > Print Booklet
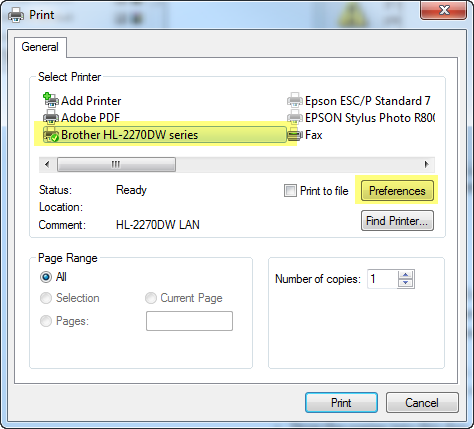
- In the “Print Booklet” dialog click the “Print Settings…” button at the bottom to get to the settings for the printer itself. Printer: Brother HL-2270DW.
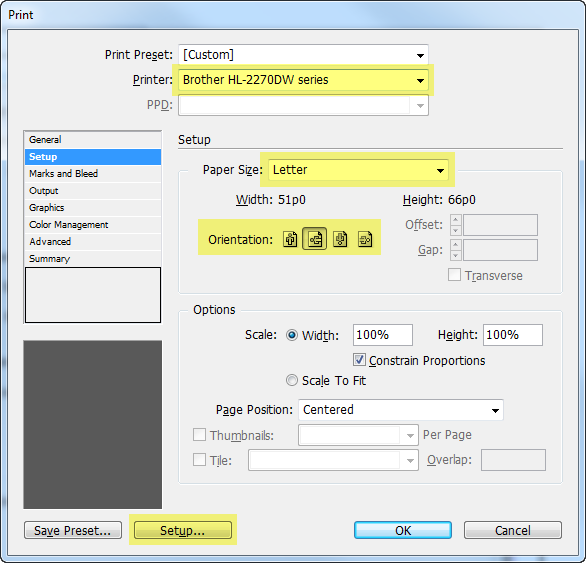
- In the “Print” dialog, click the “Setup…” button at the bottom to continue to the settings for the printer itself. (In order to set up the printer for duplex printing.)
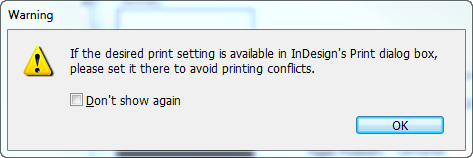
- Ignore InDesign’s warning.
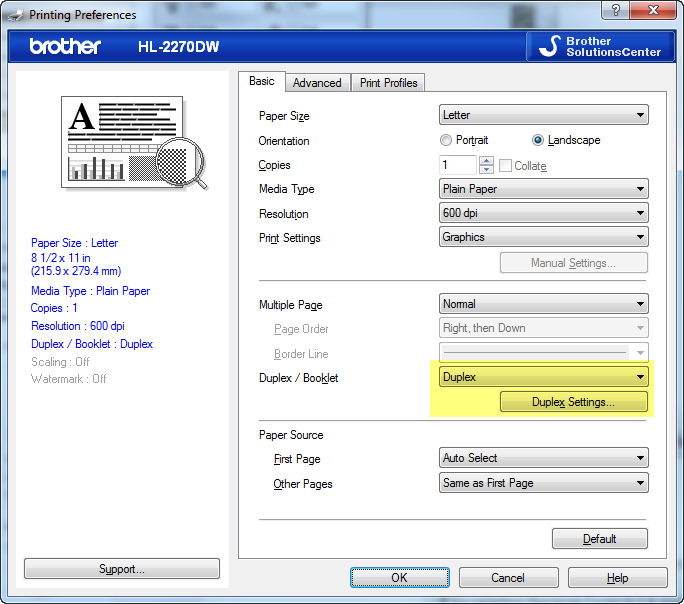
- In the Brother HL-2270DW dialog, click the “Properties” button.
- Duplex / Booklet: Duplex
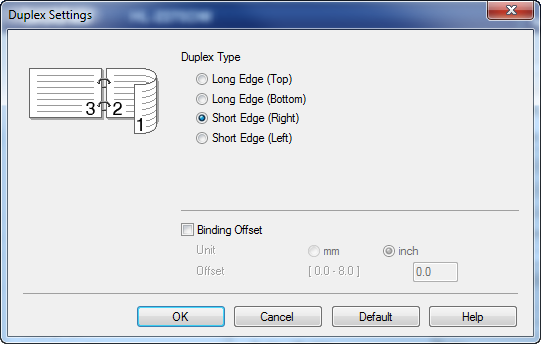
Duplex Settings > Duplex Type: Sort Edge (Right)
- Close all the dialogs by clicking either “OK” or “Print” until only the original InDesign “Print Booklet” dialog is open. Click “Preview” to confirm that the pages are arranged correctly.
Printing out for pencils[edit]
- Create another Photoshop action:
- Flatten image.
- Adjust DPI to 269, which will result in artwork being printed out @ 6¼ x 9-3/8″.
- Save copy of PS file in another folder.
- I have to use Staples this time around for printing (because I was in LA and didn’t have access to a printer):
- Create another InDesign doc.
- 8½ x 11″ sheets; no spreads; 1-1/8″ (1.125″) side margins; 13/16″ (0.8125″) top & bottom margins.
- Drop the copies into this doc.
- Create a PDF to take to Staples.